Web templates when you need them...
Click on the images for a larger view.


I attached the styrofoam head by using a skewer and glue.
Cutting a semi-circle from foam for the table, I traced the bottom of the "snow globe" that I was going to use for the crystal ball, and cut out the hole for it to fit into. I then used toothpicks stuck into the table and glue on the backside of the table and pushed it into place.
The slot below the table is one I cut out in order for the fairy light battery box to fit into.
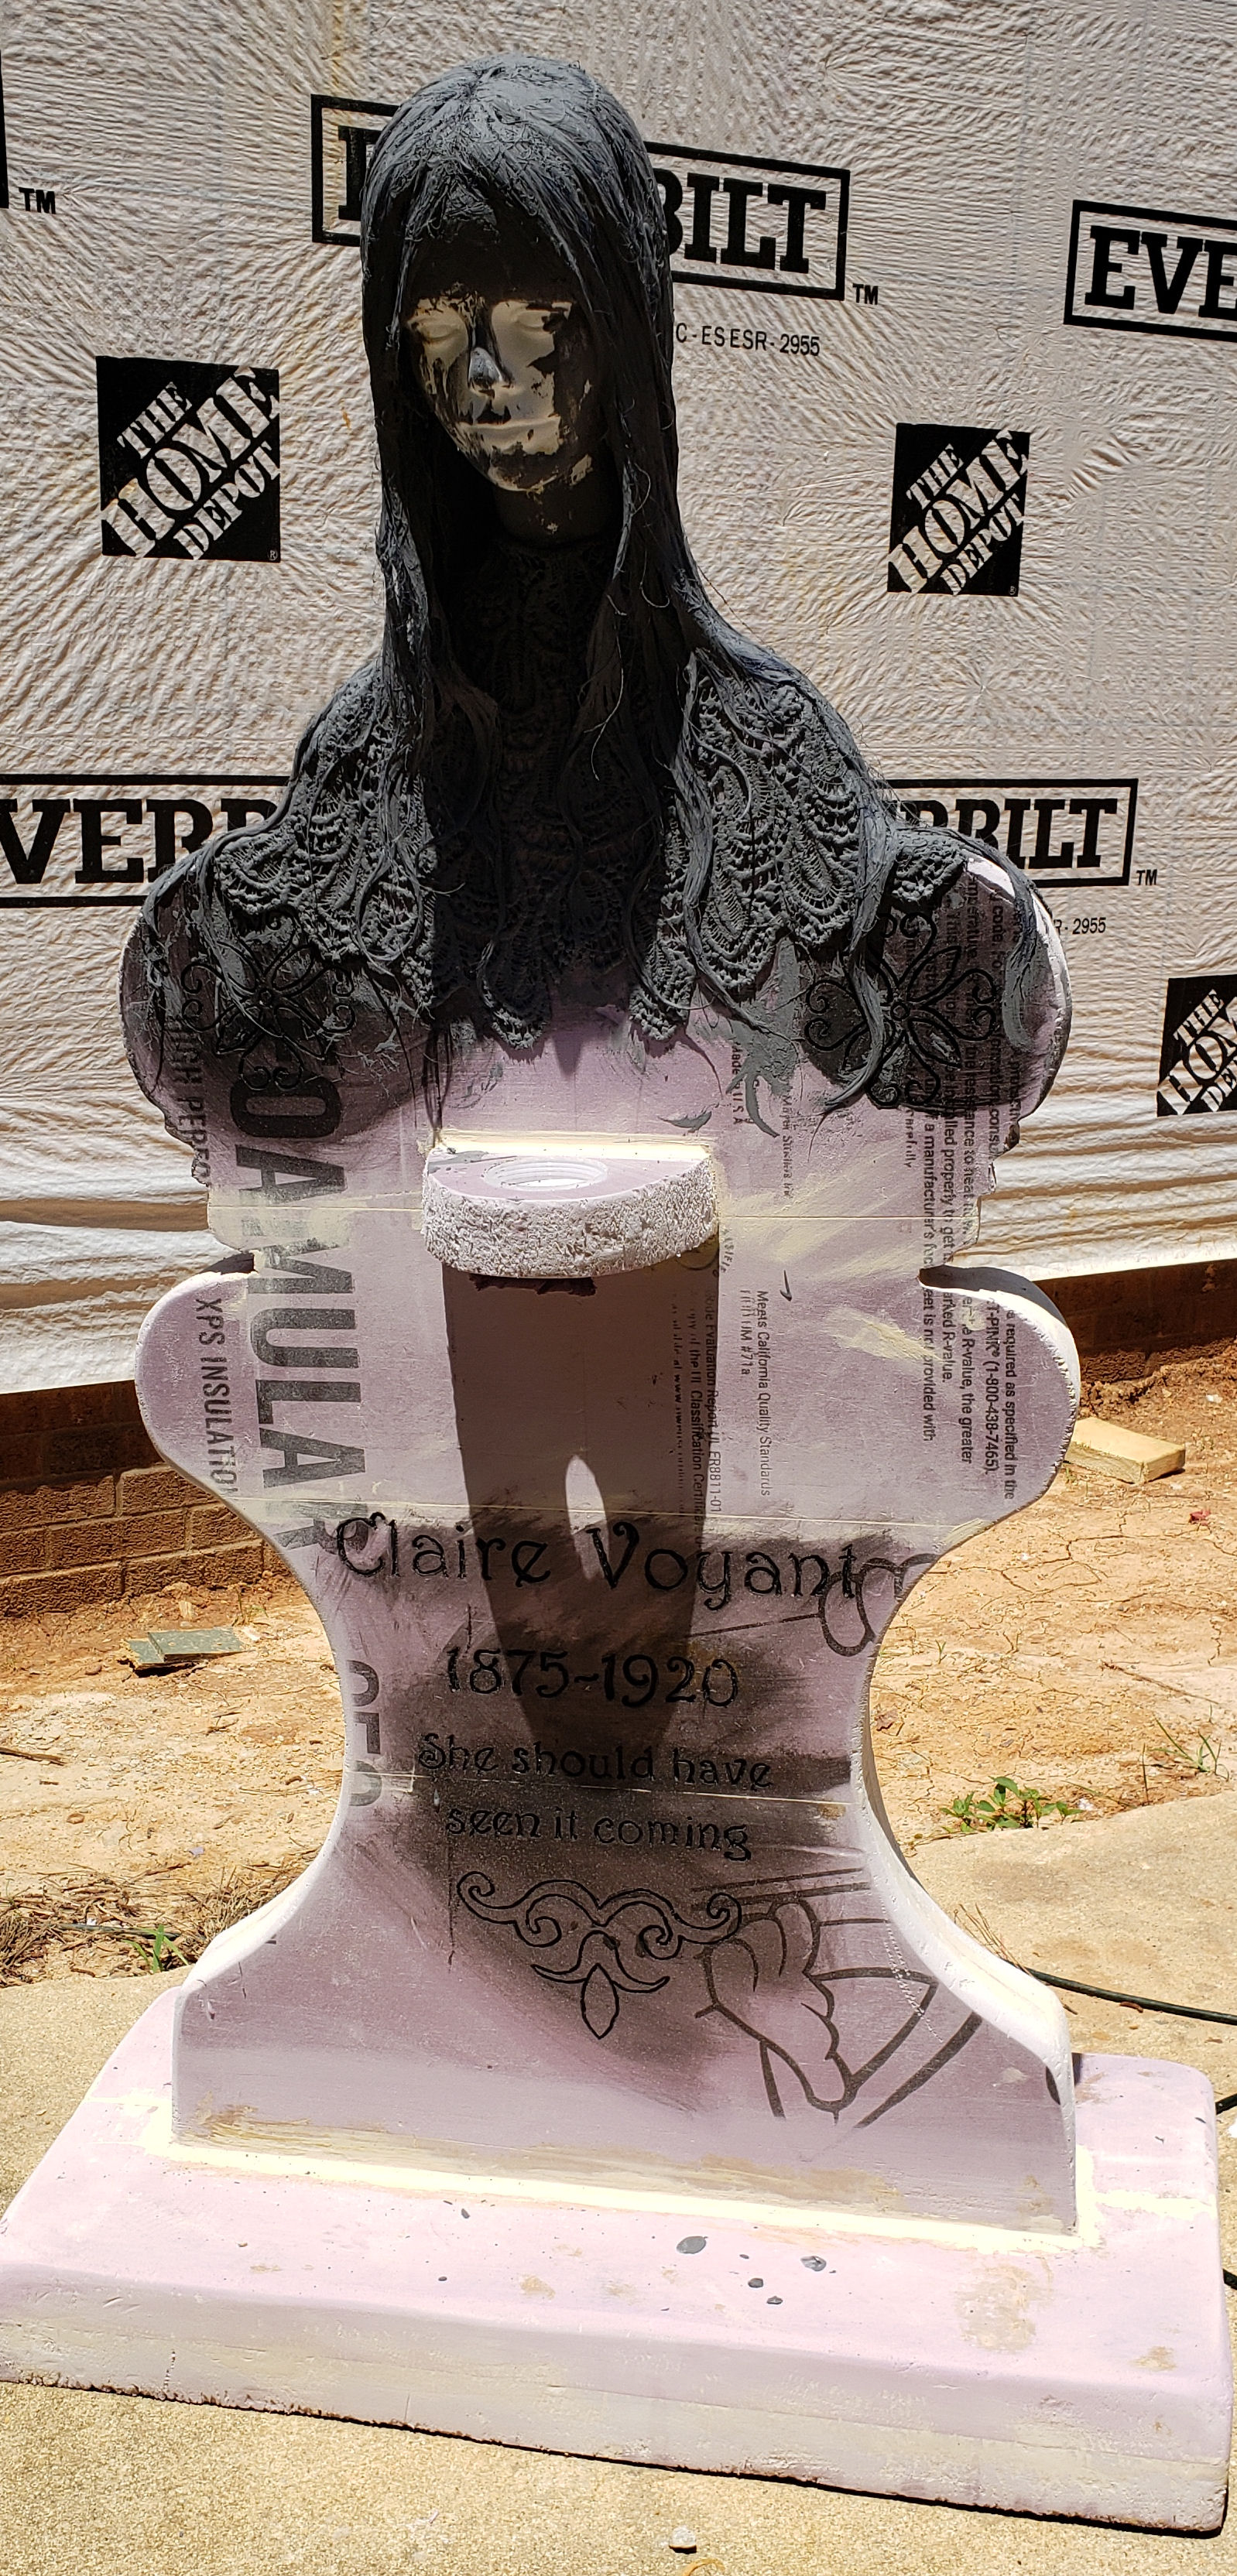
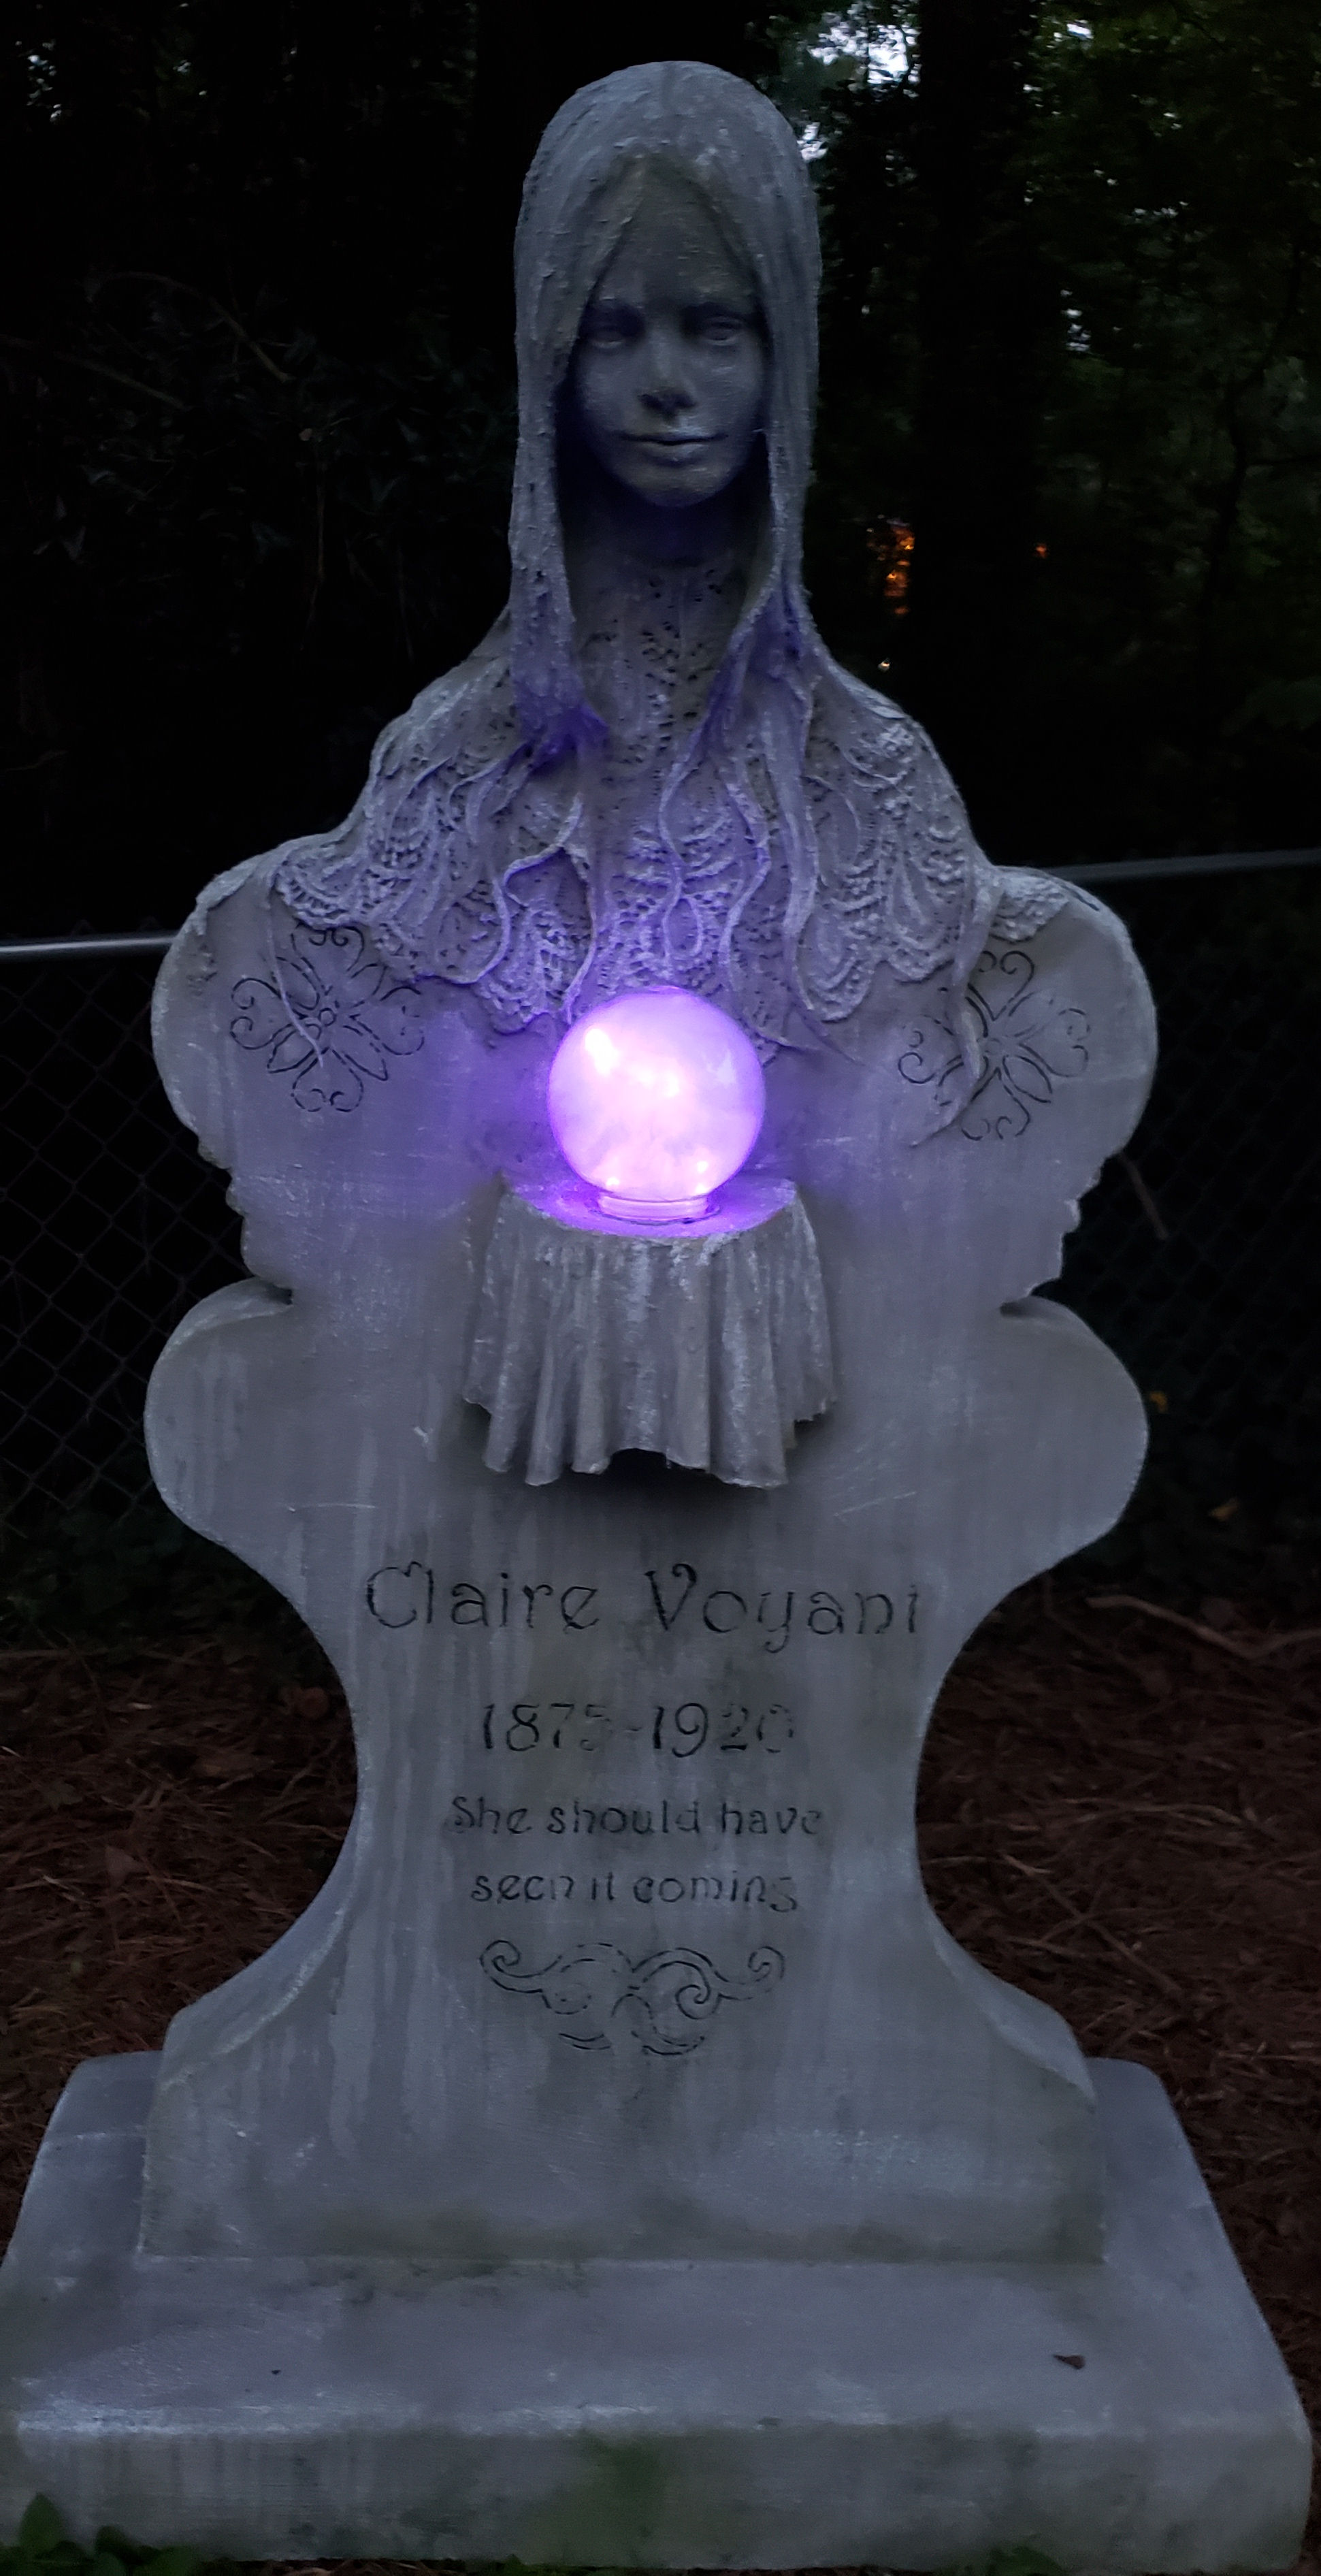
I purchased a very cheap purple wig and from the Goodwill, I purchased a pair of crocheted shorts. Yep, someone thought crocheted shorts would be a good thing. A table cloth would do or anything that has some thick lacy look. I cut the shorts and placed them where I thought they should go.
Now to the messy part, I dipped the crocheted fabric into the monster mud (3 parts sheetrock mud and 1 part latex paint). I arranged it on the tombstone. USE GLOVES!!! When I liked how it looked, I let it dry overnight.
I then dipped the wig into monster mud... uggh!!! I was pretty careful to keep it as straight as possible. I pinned it to her head as it was too heavy to sit in place on its own. See NOTES below.
I added the monster-mudded table cloth (just a small piece of fabric and played around with it until I got the draping I liked. I cut the hole in the center for the snow globe prior to dipping the drape into the monster mud.
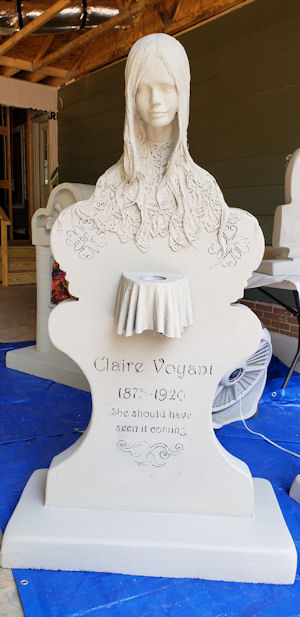
She then got a couple of coats of Dryloc paint. You'll also notice that I had painted dark gray into her name and epitath prior to coating her with Dryloc. I had to do a little touchup painting on the carving, but it's easier to to that than trying to paint all of the wording & flourishes.
All that was left to do was to tea stain and dry brush her & paint some green moss around her.
The Crystal Ball is an empty plastic snow globe that I got at the local craft store. It has a lid on it that can be screwed down to hold the contents. My hole in the table was cut to fit the lid, so it fit snuggly into the space. I punched a hole in the bottom of the lid for the fairy lights to pass through. It is a DYI snow globe that I filled with angel hair and purple fairy lights.
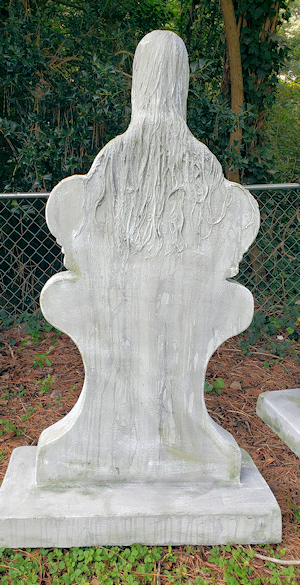
The Hair: You will find gaps in the hair when you set the wig on her head. Real tombstones don't have gaps. I dipped pieces of paper towels into the monster mud and used them on the "inside" of the hair to fill it in. You can see on the larger view that I had some gaps that I later filled in. Check out the finished stone around her neck and you'll see where I had to put the paper towel pieces. I also had some purple strands of hair that I had to put some monster mud on as well.
Tea Staining: You'll need some black paint and some water. Dip your brush or put about a 1/4 teaspoon of black latex paint into a cup or more of water. Disclaimer: I never measured it, I just got the water to look like "tea". You want the paint to be diluted quite a bit. Take a paint brush and drip/lightly brush the mixture on the top of the stone. You want the staining to be where rain water would run. I had to dip the brush a number of times in different places (her head, the tablecloth, her shoulders). If it doesn't look dark enough, let it dry, then do it again. You might want to add a tad of paint. It is very wet and accumulates at the base of the stone, so I used a couple of paper towels to dab up the excess and then I squeezed the wet paper towels back onto the stone.
Dry Brushing: This really puts the finishing touch on tombstones. Take your paintbrush and dip the end of it into white paint. Once you do that, tap your brush on a paper plate (or whatever you want) a number of times to remove most of the paint. I lightly brush the paint onto the stone. If you look at all of the larger pictures of my tombstones, you'll see how I sparingly used the dry brushing. If you accidentally get it on too heavy, all you do is take a damp paper towel or cloth to remove it. Let it try and try again. The first time you try it, try it on the back or side of the stone.